How to Make a Great Cup of Coffee with Kurasu Coffee Drip bag
Hi there! It’s Hitomi.
The weather is getting warmer and we are seeing many more pleasant, sunny days in Kyoto.
The sort of weather that really makes me want to go camping, having a BBQ and enjoying coffee outdoors SO BADLY! It is still a time of patience though…
But hey, it’s always good to be getting prepared to rock the coffee drip bags for the day we will be able to enjoy a nice cup of coffee anywhere, gathering with your friends, right?
I love bringing these drip bags whenever I visit my friend or when I want to give something small and nice as a gift.
Some of you may have received coffee drip bags as a gift from someone, too.
Yay drip bags, but no coffee props at home?
We know the feeling.
Or, maybe you’d bring some drip bags over to your family and friends’ house, and can’t find any suitable kettle, thermometer, or a scale. It happens a lot for me.
Perhaps you’d also encounter the issue on your business trip, at your holiday hotel room, on a campsite, at a BBQ party, but nothing can stop that craving for a proper cup of coffee you love.
That’s the life of coffee lovers, and what we need to know is how to make a good cup of coffee with a coffee drip bag, without any special coffee brewing equipment.
What you need:

・A kettle to boil some water
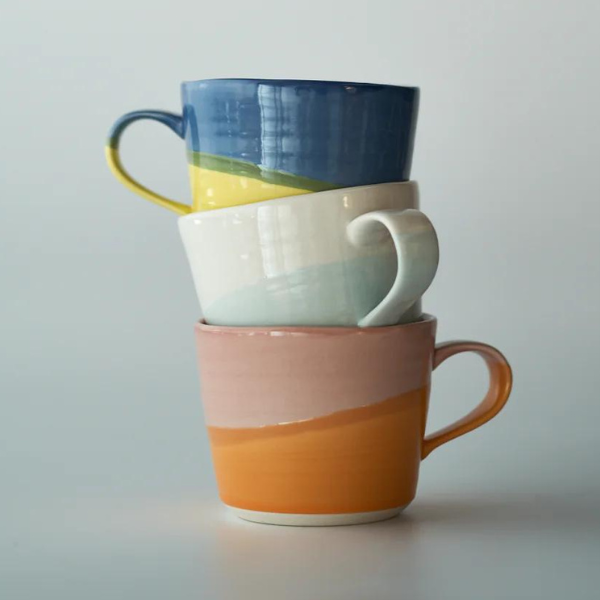
・A mug/cup (a narrow cup will be better than a wide cup, so that the drip bag can sit well and stable.)
・A spoon
・A smartphone, or a wall clock that has a second hand
Let’s try!
FIrst, we will share how we like to make a hot coffee with our drip bags. This recipe works for both light roast and dark roast.
Here’s the link to our drip bags in the recipe

The key to make a good cup is to pour slowly♪
1. Set the drip bag onto a mug
*Make sure to press the side marked as “2” in, until the frame makes a V shape when seen from the top!


3. Set a timer on your phone, and tap start right before you start pouring the hot water
4. Blooming:
Pour some boiling water from the kettle, evenly onto the coffee grind- about up to one third of the bag (Just enough to wet the coffee evenly)

After 30 seconds from step 1, pour some more hot water, up to 5mm line lower from the brim.
*Watch the opposite side of the “v” gap carefully and make sure not to let the coffee overflow into the mug from there.

- 3rd pour: 1’00
After 1 minute, pour up to the same level as step 5.
- 4th pour: 1’30
After 1’30, pour the same amount again
- 5th pour: 2’00
After 2’00, give it a final pour, again up to 5mm lower from the brim
- Let all the water drip, take the drip bag off of the mug, and lightly stir the coffee in the mug, and it’s ready to serve!
This final stir makes all the difference and this will be delicious!

If you have a scale and if you would like to recreate this recipe with the same weight, here’s the detailed information.
ーーーーーーーーーーーーーーーーーーー
◆Kurasu’s Recipe for HOT Coffee
Water temp.: Boiling water
No. of pours: 5
Brewing time: 2’30~3’00
How much of hot water and when to pour
1st pour: 0‘00 25g
2nd pour: 0’30 80g
3rd pour: 1’00 120g
4th pour: 1’30 150g
5th pour: 2’00 180g
ーーーーーーーーーーーーーーーーーーー
Secondly, we made a recipe for iced coffee perfect for hotter weather!
1. Put 3 to 4 ice cubes into a mug, and set the drip bag on top*Press “2” in and make a V shape

2. Flatten the coffee grind

3. Set a timer on your phone, and tap start right before you start pouring the hot water
4. Blooming:
Pour some boiling water from the kettle, evenly onto the coffee grind- about up to one third of the bag (Just enough to wet the coffee evenly)

After 30 seconds from step 1, pour some more hot water, up to 5mm line lower from the brim.
*Watch the opposite side of the “v” gap carefully and make sure not to let the coffee overflow into the mug from there.
6. 3rd pour: 1’00After 1 minute, pour up to the same level as step 5.

7. Let all the water drip, take the drip bag off of the mug, and lightly stir the coffee in the mug, add a few more ice cubes and it’s ready to serve!

Here’s the detailed recipe:
ーーーーーーーーーーーーーーーーーーー
◆Kurasu’s Recipe for ICED Coffee
Water temp.: Boiling water
No. of pours: 3
Brewing time: under 2’00
Ice cubes: 65g (before brewing) + 25g (additional ice cubes to add at the end)
*If possible, consider using a store bought ice cubes made with nice water- it will certainly improve the flavor!
How much of hot water and when to pour
1st pour: 0‘00 25g
2nd pour: 0’30 80g
3rd pour: 1’00 120g
ーーーーーーーーーーーーーーーーーーー
Using a timer to brew a cup of coffee is also a good way to feel properly investing in the brewing process, isn’t it?
Of course, if you have the right equipment and want to make a better cup with drip bags, we recommend you weighing everything too.
This time we wanted to share with you that it’s possible to make a great cup of coffee using a drip bag, even when you don’t have the right equipment.
It’s all about a little care and tips that make the difference in a cup- please try our recipe at home to enjoy Kurasu’s coffee drip bag even more at home ;)
If you are new to the world of manual brewing and are interested in picking a new set of brewing gears, do drop by at Kurasu Ebisugawa! We have all the items that are available online on display for you to actually see and feel, and our staff members will be so happy to assist you with their love and knowledge of coffee, ready to answer all of your coffee questions!
For everyone who is living far away from Kyoto, or too busy to go out and do shopping, we would also like to share some tips on how to choose your first coffee gears, what to look for, and some handling tips on our next blog. Stay tuned!
Next Up: How to Pick Your Own Coffee Gear & Handling Tips
2021.4.26

